Testing the Door Motor

This Troubleshooting Guide is applicable for the following Midmark Autoclave Model Numbers: M9-020 thru -022, M9D-020 thru -022, M11-020 thru -022, M11D-020 thru -022
 

Notice Green LCD Display


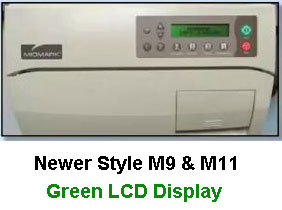
If Your Midmark has a Green LCD Display as shown above, then this is the right guide for you


How To Test The Midmark Autoclave Door Motor System


Testing the Door Motor Assembly on the Midmark Autoclaves is simple, once you know how. Simply Follow These Step-By-Step Directions

Before Starting, you will need to remove the right hand side panel (as you are facing the autoclave) by removing the two screws on top and then lifting out the panel

Procedure Preview
Step 1: Remove the Two Wires From The Motor Locate the 2 wires to be removed
Door Motor With Wires Removed Pull the wires off the terminals
Step 2: Set meter to 20K ohms Ω Move the dial on your meter to 20K Ohms Ω
Step 3: Place Meter Probes On Terminals Place a Probe On Each Terminal - Color of Probe does not matter
Step 4: Look At Readings on Your Meter
The Acceptable Range for 120V Autoclaves is 6620 Plus or minus 20%
The Acceptable Range for 230V Autoclaves is 12,200 Plus or minus 20%
The reading you are looking for
If reading is out of acceptable range...Replace door motor. But, If reading is within acceptable range... Perform PC Board Relay Test Click Here For The M9 Door Motor Assembly
Click Here for the M11 Door Motor Assembly

allclaveparts.com widget logo