Description

Part #MIK054-804
VENT VALVE REPAIR KIT
*Non-Manifold Mount Means The Valve Assembly Is Attached To The Base (With 2 Screws Directly Into The Valve From The Bottom Of The Autoclave) Instead of The Valve Assembly Being Screwed Into A Manifold (or Block)
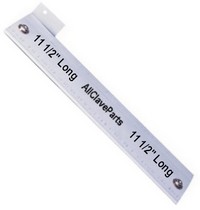
Note: To Disassemble the Valve, the Spanner Nut Tool Is Required
Fits: Vent solenoid
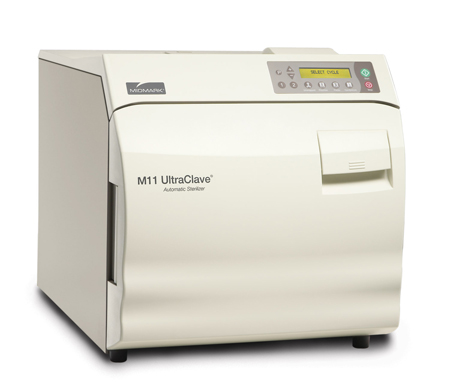
Model(s) This Part Fits: Midmark M11 & M11D Autoclave -001 thru -019 with Serial # prefixes ES, ET, FP, FR & GB.
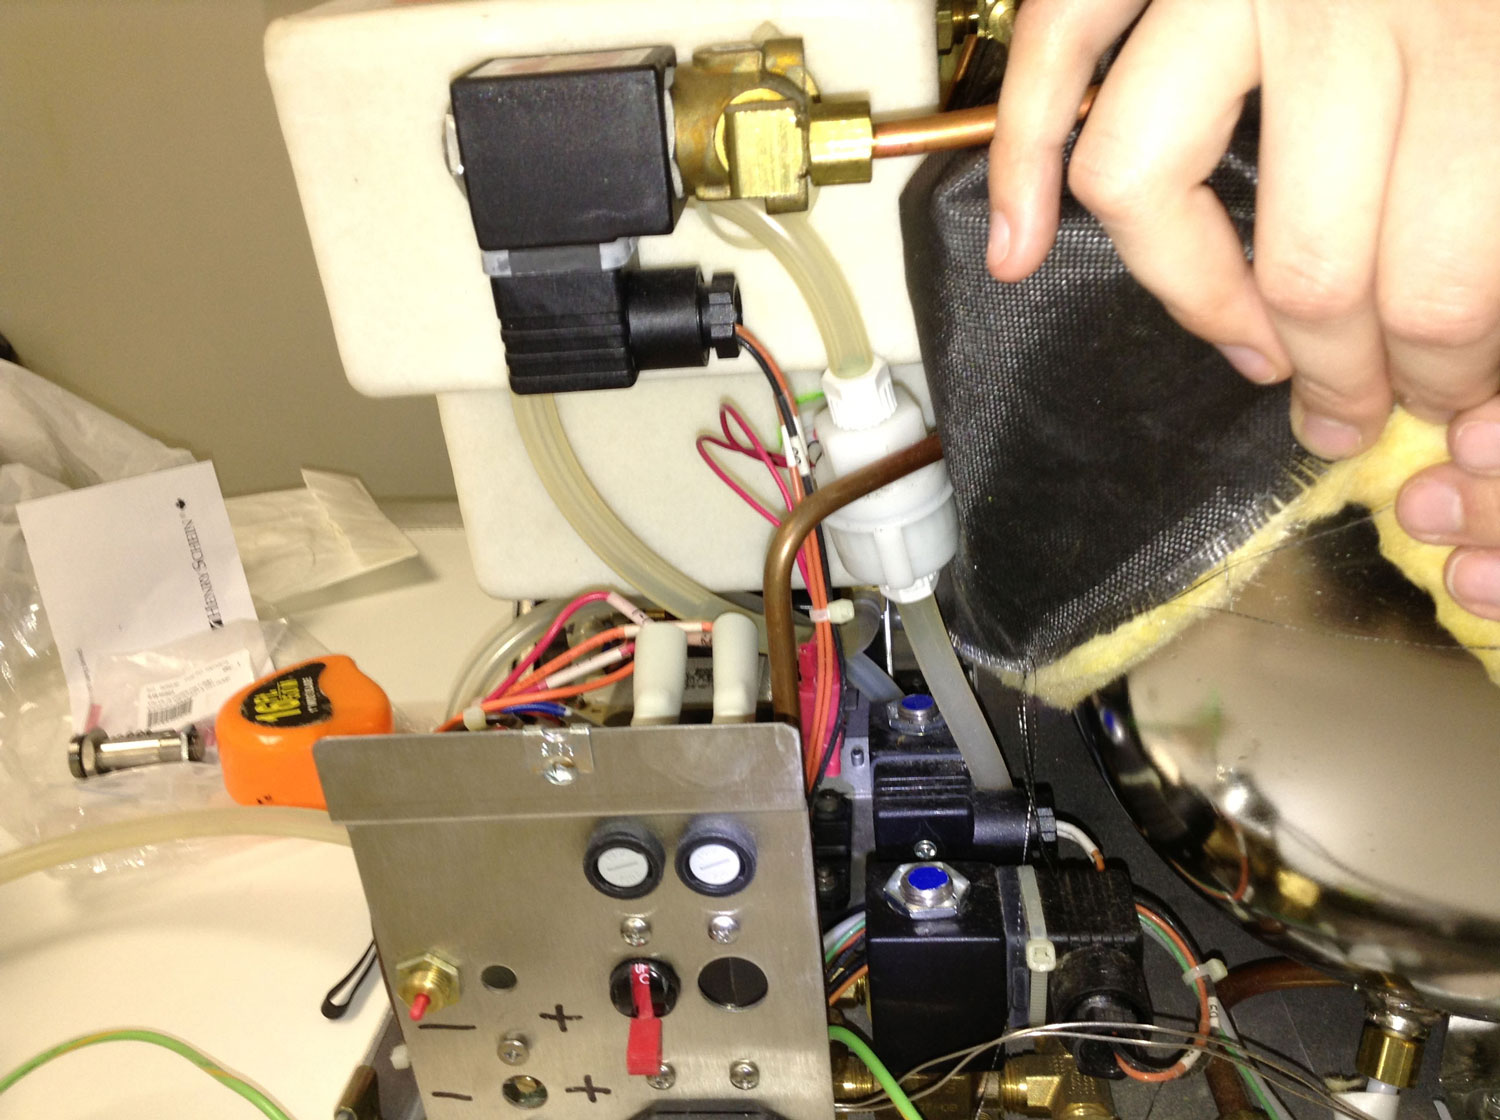
Includes All Parts As Shown:
- Stem
- Plunger
- Spring
- O-ring
Also Available Is The Solenoid Coil Click Here (Part #MIC058-794)
How To Install The Midmark M11 Vent Valve Repair Kit
This Repair Will Take Only A Few Minutes To Complete & The Only Tools You Will Need Are:
- Phillips Screwdriver (to remove the Right Side Panel)
- 9/16" Wrench
- 3/4" Wrench
- Spanner Nut Tool
- Standard Screwdriver
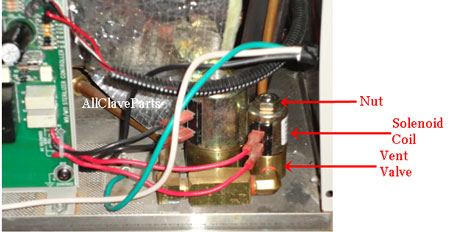
This Repair Is Easy To Complete. First, You Will Need To Remove The Old Parts:
- Unplug The Autoclave From The Outlet
- Remove The Right Side Panel (Click Here for Easy To Follow, Step-By-Step Instructions)
- Remove The Two Red Wires From The Solenoid By Pulling The Spades Off Of The Terminals On The Coil
- Remove The Nut From The Top Of The Solenoid By Using a 9/16" Wrench and Turning The Nut Counterclockwise (Once It has been loosened, you can continue to unscrew it by hand)
- Slide The Coil Off The Stem And Set It Aside
- Slide The Spanner Nut Tool Over The Stem & Line Up The Pegs on The Tool With The Holes In The Base Plate
- Remove The Stem With the 3/4" Wrench By Turning the Tool Counterclockwise
- Remove The Plunger & Lift Out The O-ring From The Valve
Now Let's Complete The Repair By Installing The New Parts
- Lay The New O-ring Inside the Groove Inside The Valve Opening
- Insert The Plunger Into The Stem (Red Nylon "Button" Facing Out)
- Insert The Stem Assembly Into The Valve Opening & Screw It In (Turning Clockwise)
- Using The Standard Screwdriver, Finish Tightening The Stem As Far As It Will Go (Note, With Our New Stem, You Will No Longer Need The Spanner Nut Tool For This Repair!)
- Slide The Coil Over The Stem & Reinstall The Nut
- Push The Spades From The Two Red Wires Onto The Terminals (Tracing From The PC Control Board, The Top Red Wire Goes To The Top Terminal On The coil)
Before Re-installing The Right Side Panel, Run a Cycle To Check For Leaks


